















How to plan lighting for a whole apartment: a step-by-step guide
The article
In short: lighting design for an apartment starts from what you do in each space, not from the fixtures. Break each room down into four layers of light (general, task, accent and decorative), decide how much light each area needs, choose one colour temperature for the whole home, and give the electrician a plan with points, circuits and dimming before the walls and ceilings are closed. Choosing the fixtures themselves comes only after that.
Most of the problems people discover after moving into an apartment, such as a living room that looks like an office, a kitchen with a shadow on the worktop or a dark corridor, arise because the lighting was chosen room by room, and sometimes at the last minute. This guide puts the process in the order in which it should happen, with the figures customary in the field. Links to detailed guides by space are given along the way.
Why the whole flat is planned together
The flat is seen as one continuous space: from the entrance you see the living room, from the living room the kitchen and the dining area. When each space gets a different colour temperature, a different intensity and a different style of fixtures, the eye notices it immediately. One design for the whole flat makes it possible to set a single language: the same colour temperature, the same family of spotlights, the same type of trim (with a frame or trimless), and the same dimming method. It also saves money, because the electrician lays the infrastructure once.
Step 1: what is done in each space
Before you look at a catalogue, write a short list for each room: what is done in it, at what hours, and exactly where. In the living room people sit, read, watch TV and entertain. In the kitchen they chop and cook on the worktop, and at the island they eat or work. In the bedroom they dress in front of the wardrobe and read in bed. This list determines where strong, precise light is needed, and where soft light is enough.
It is worth marking the main furniture on the floor plan of the flat: sofa, dining table, bed, island, cabinets and desk. A pendant fixture planned above a table that ends up moving half a metre to the side is one of the most common mistakes.
Step 2: four layers of light
A well-lit home relies on several light sources working together, not on a single point in the centre of the ceiling.
General light
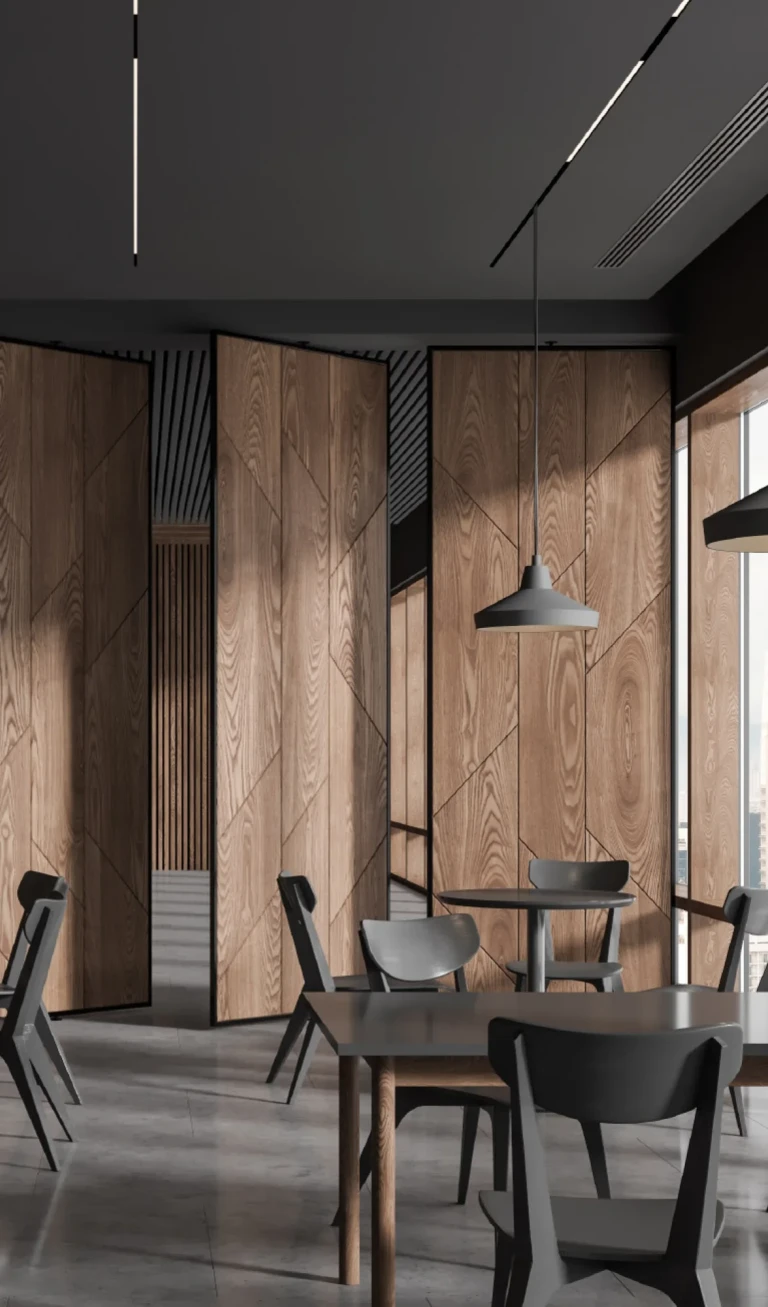
The light that lets people move through the space safely. It can come from recessed ceiling light fixtures, from ceiling lights, from concealed lighting in a plaster cornice, or from a large central fixture. The aim is even light, with no strong patches and no dark corners.
Task light
Focused light where you work: the kitchen worktop, the desk, the bathroom mirror and the bedside. More light is needed here, and it has to come from a direction that does not cast a shadow on the hands or the face.
Accent light
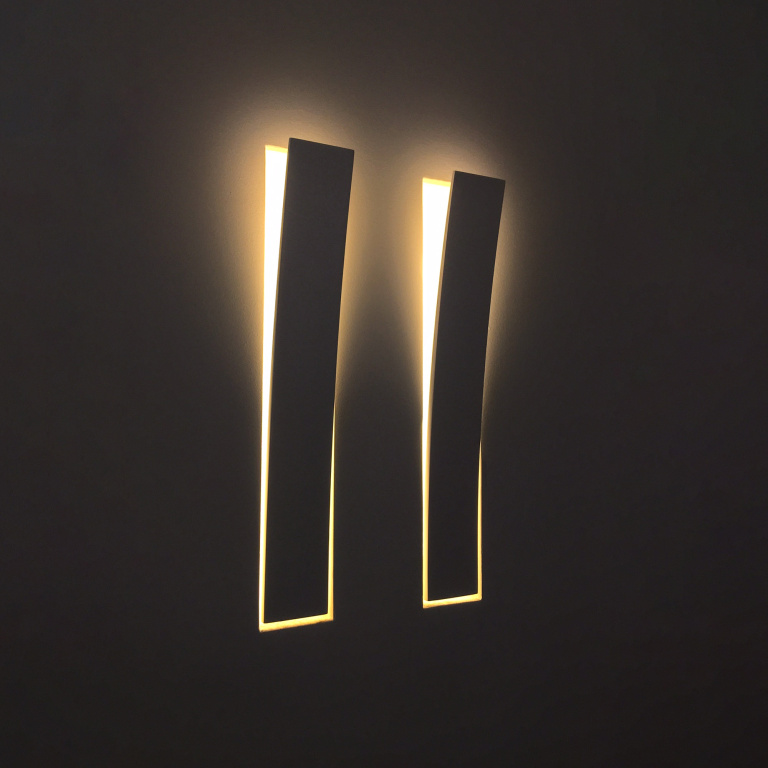
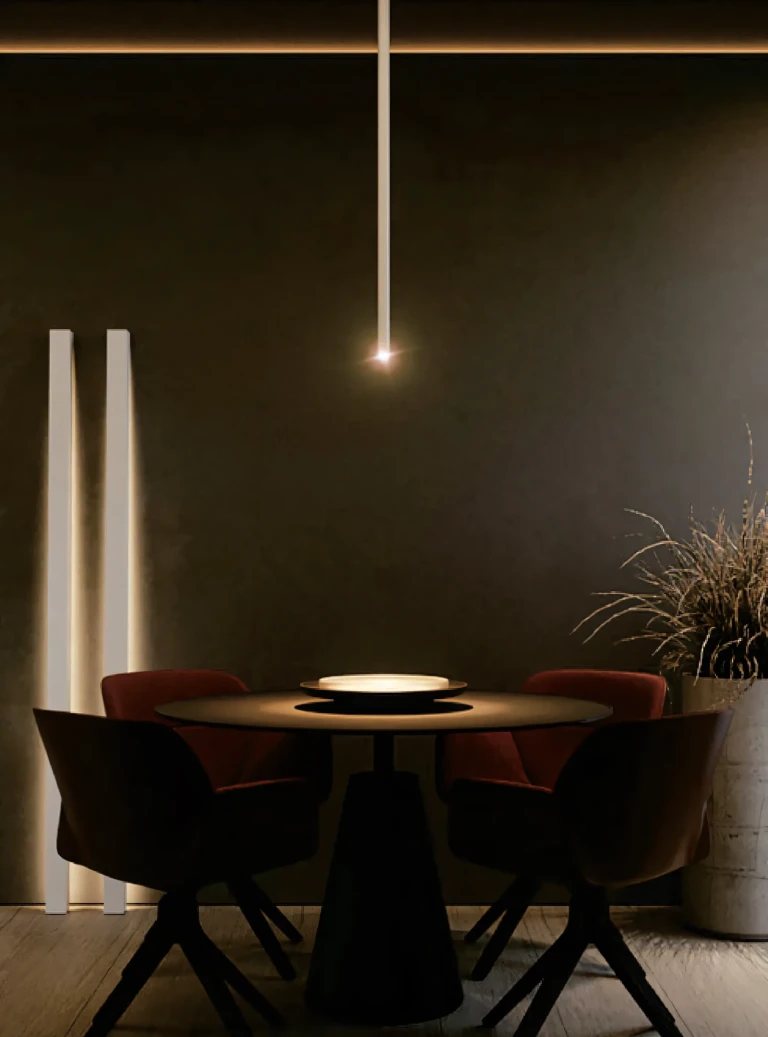
Aimed spotlights, wall lighting and lighting inside niches, which light a picture, a stone wall, a bookcase or a plant. Accent light gives the space depth. Without it, even a well-lit room looks flat.
Decorative light
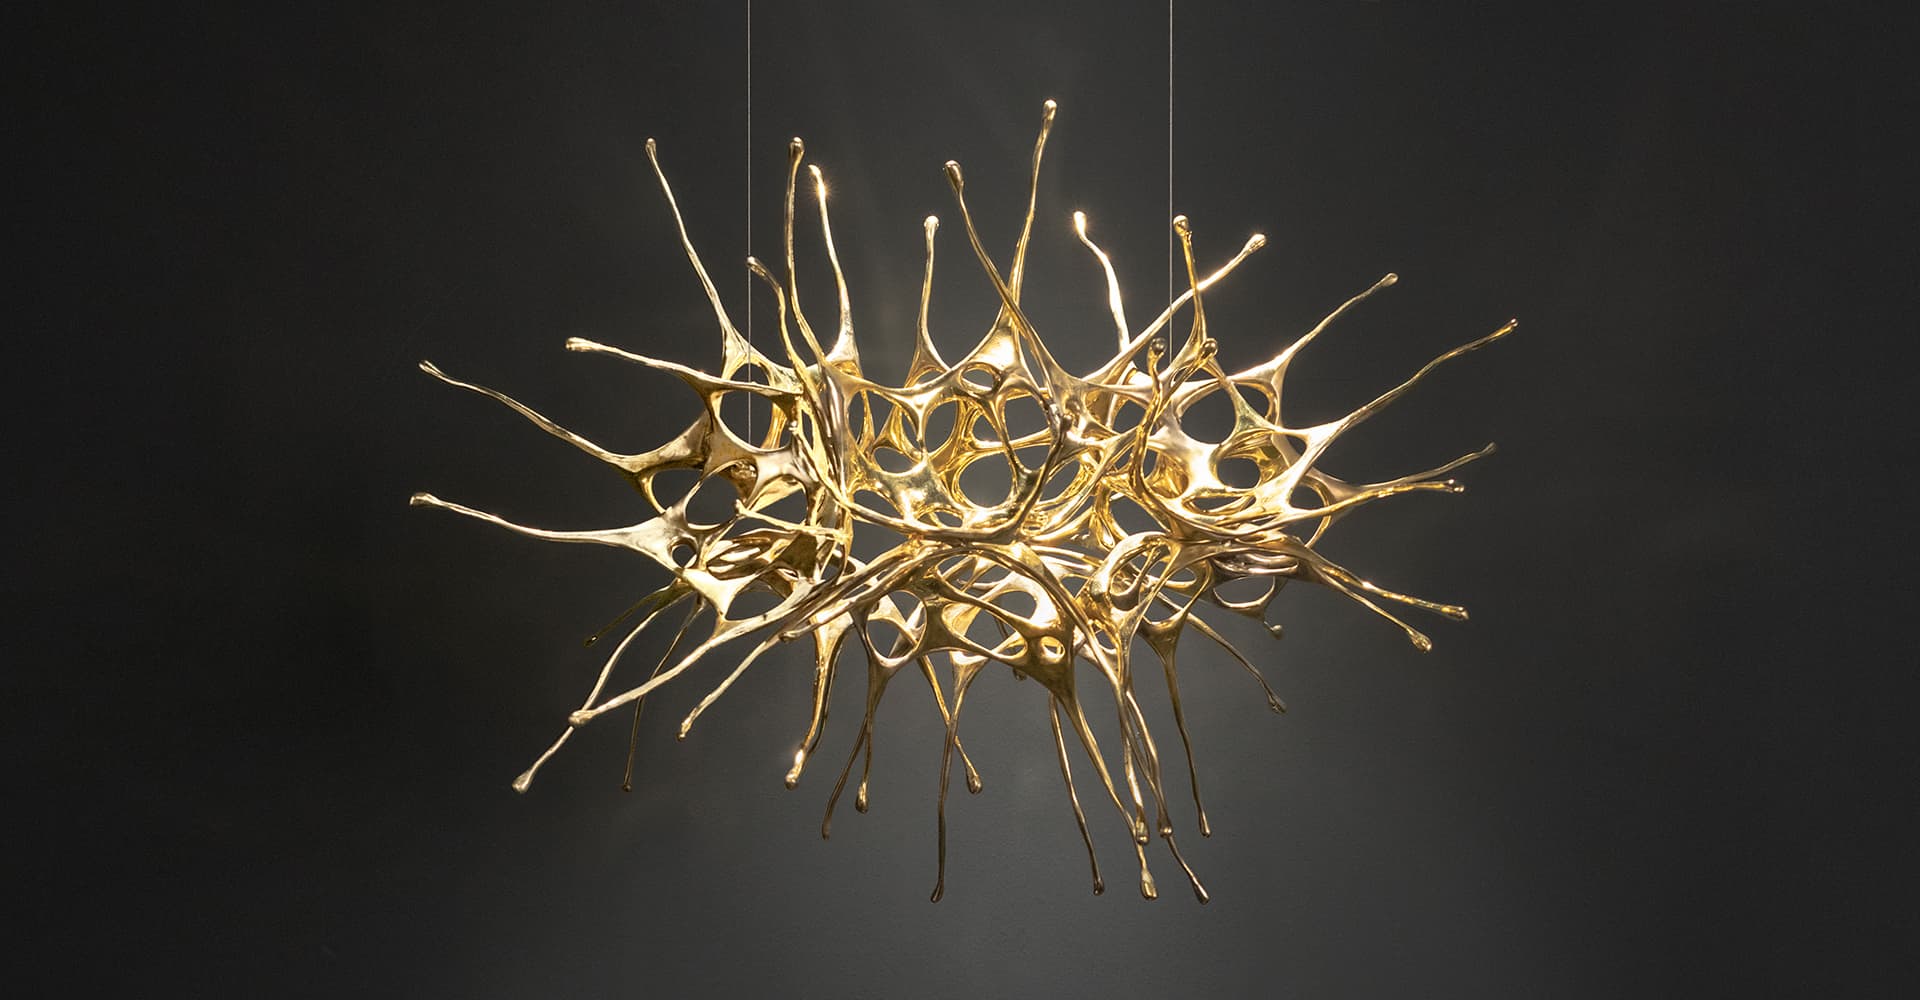
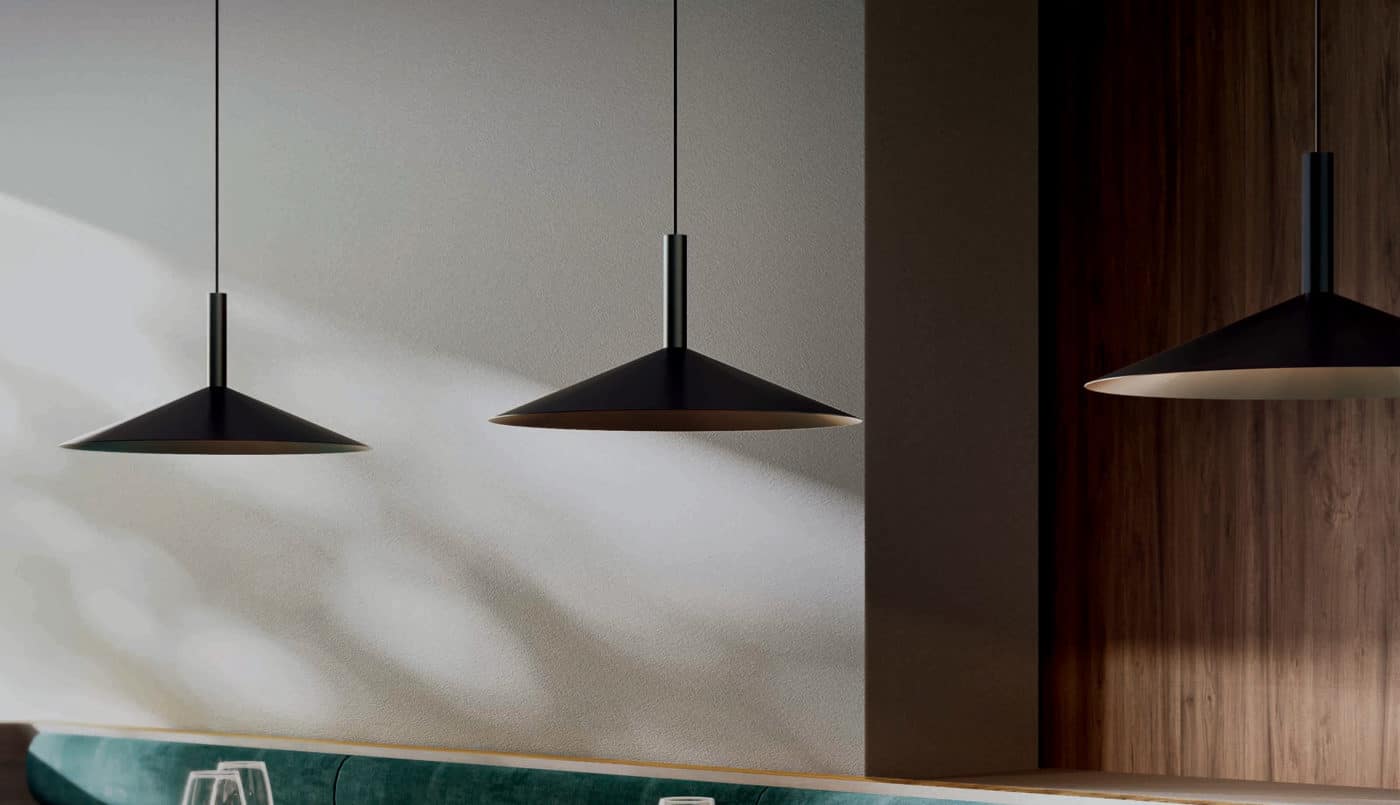
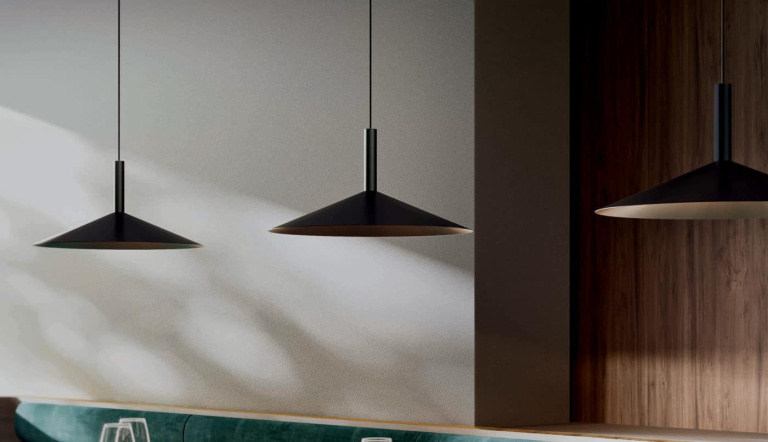
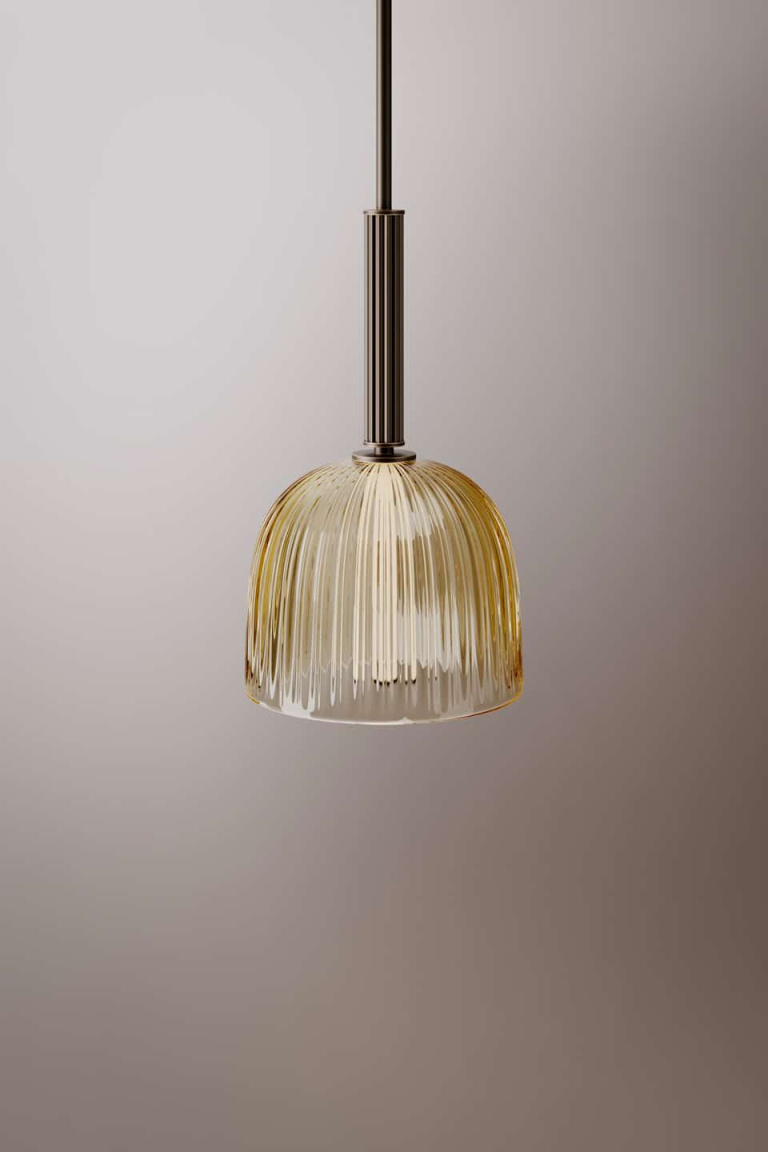
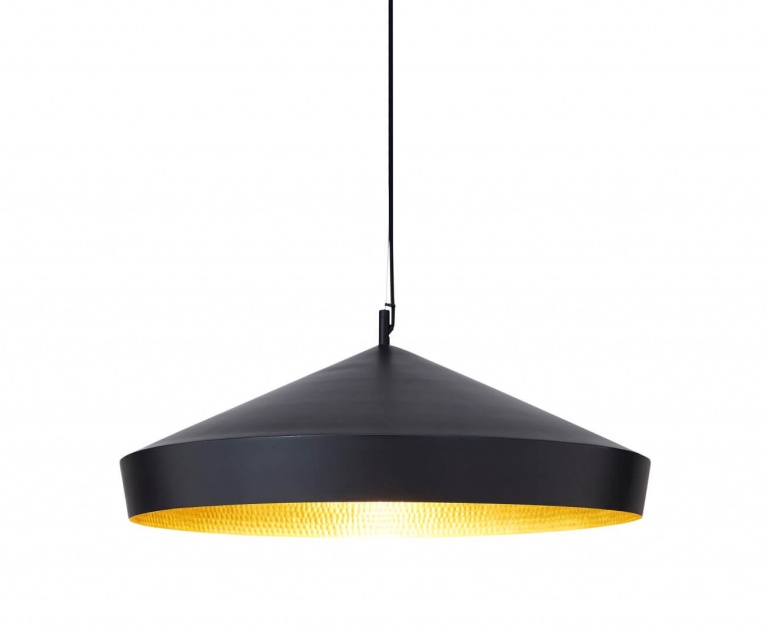
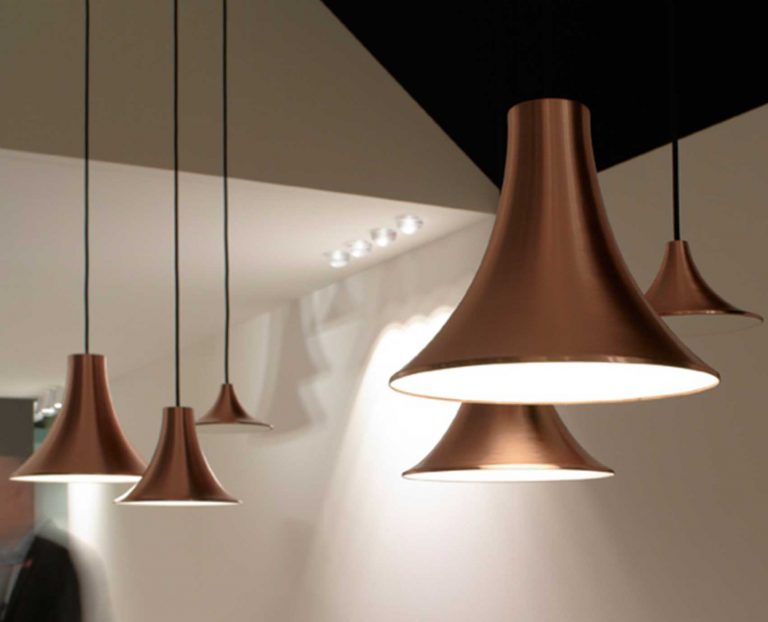
The fixtures you see: pendant lamps and chandeliers, wall lights, floor lamps and table lamps. They give the room character and sometimes part of the general light as well. It is best to choose them once the other layers are clear, so that they are not asked to do a job they were not designed for.
Step 3: how much light each room needs
The light level on a surface is measured in lux. The table sums up ranges that are customary in residential lighting design. They are a starting point, not a rule: older people usually need more light, and dark walls absorb some of it.
| Space and area | General light (lux) | Task light (lux) |
|---|---|---|
| Living room | 100 to 200 | 300 to 500 in a reading corner |
| Kitchen | 150 to 300 | 300 to 500 on the worktop |
| Dining area | 100 to 150 | 200 to 300 on the table |
| Bedroom | 100 to 150 | 300 to 500 for reading in bed |
| Bathroom | 150 to 300 | 300 to 500 at the mirror |
| Corridor and stairs | 75 to 150 | None |
| Work area | 150 to 300 | 500 on the worktop |
From lux to lumens: a rough estimate
Makers state the amount of light a fixture gives in lumens (lm). A rough estimate: multiply the desired lux by the area of the room in square metres, and divide by 0.5 to 0.6 to compensate for light absorbed by the walls and ceiling. A living room of 25 m² designed for 150 lux of general light needs roughly 6,000 to 7,500 lumens from all sources together. The calculation does not replace a designer’s simulation, but it prevents the common mistake of a room that gets half the light it needs.
Step 4: choosing the types of fixture according to the ceiling and the walls
The type of ceiling decides a lot. In a concrete ceiling without a lowered ceiling there is no room for recessed fixtures, so you work with ceiling lights, surface tracks, wall lights and pendant fixtures. In a plasterboard ceiling you can recess spotlights, build a cornice for concealed lighting with plaster profiles for LED lighting, and recess a magnetic track in a clean line.
It is worth checking the depth of the drop ceiling in advance. A quality recessed spotlight usually needs a few centimetres of depth for the fixture and the cooling fins, and room for the driver. In low ceilings of 2.50 metres and below, recessed fixtures with a focused beam are more suitable than protruding surface-mounted fixtures. The guide How to choose recessed spotlights details the diameter, beam angle and glare, and the guide Magnetic track and track the differences between the two systems.
Step 5: colour temperature and colour rendering, consistent throughout the home
Colour temperature is measured in kelvin (K). In most homes 2700K to 3000K is chosen for the living room, the dining area and the bedrooms, and 3000K to 3500K for the kitchen and the work area. The most important decision is not to mix: a 4000K spotlight next to a 2700K wall light looks like a mistake.
Colour rendering (CRI or Ra) determines how natural colours look. For the home a CRI of at least 90 is recommended, especially in the kitchen, the bathroom and where art is hung. A full explanation is in the guide Colour temperature and colour rendering and on the Colour rendering page.
Step 6: control, switches and dimming
Good design divides each room into several circuits that can be switched on separately: general light, task light and accent light. That way you can choose different lighting for the morning, the evening and entertaining. A few things worth deciding before the electrician starts:
- Two-way switches at the entrance and end of a corridor, at the top and bottom of stairs, and at the entrance to the bedroom and beside the bed.
- Dimming circuits in the living room, the dining area and the bedroom. The dimming method (TRIAC, 0-10V, DALI or wireless) must match the fixtures and drivers. The full explanation is in the guide LED dimming and drivers.
- Position of the drivers for recessed fixtures, tracks and LED strips: somewhere that can be reached for maintenance, not behind a fixed cupboard.
- Smart home: if you are planning such a system, you need to decide on it before the wiring is run, because it changes the wiring.
Step 7: the plan for the electrician
All the decisions are brought together in one lighting plan, drawn over the apartment plan. What it should show:
- The position of every light point, with measurements from the walls and not just “in the middle”.
- The type of fixture at each point: recessed, surface-mounted, pendant, wall or track, and the hanging height of pendant fixtures.
- Division into circuits, and which switch operates each circuit.
- Which circuits are dimmed, and by which method.
- The installation height of wall lights and of points for lighting above mirrors.
- Power points for floor and table lamps, including a switched socket if you want to turn them on from the entrance.
The hanging height above a table and an island is explained in detail in the guide At what height to hang a lamp and what size to choose. The bathroom has safety rules of its own, set out in the guide Bathroom lighting and IP zones.
Common mistakes to avoid
- A uniform grid of spotlights across the whole ceiling. It gives flat, office-like light and leaves the walls dark. Better fewer spotlights, positioned according to the furniture, alongside wall light and decorative light.
- Spotlights directly above the sofa or the bed. Whoever is sitting or lying down looks straight into the light.
- Task light from behind. In the kitchen, a spotlight behind the person standing at the worktop casts a shadow on their hands. The light should come from above and in front, for example from under the wall cabinets.
- Mixing colour temperatures. Each fixture is chosen separately, and each comes in a different colour temperature.
- Forgetting the walls. The eye judges a space by the brightness of the walls, not by the floor. Light on one or two walls increases the sense of space.
- Deciding on dimming after the wiring is in. By then it is usually too late, or expensive.
Recommended order of work in a renovation
At the planning stage of the renovation, the position of the furniture and the layers of light are set. Before the electrical stage, the lighting plan and the dimming method are completed, and the recessed fixtures and tracks are chosen, because the cut-outs, the depth of the dropped ceiling and the plasterboard profiles follow from them. The decorative fixtures can be chosen later, provided the power point is waiting in the right place and at the right height.
For guides by space: Living room lighting, Kitchen lighting, Dining area lighting, Bedroom lighting and Children’s room lighting. Anyone who wants to see fixtures in reality before deciding is welcome to arrange a visit to the showroom of Barami Lighting.
Questions and answers
When should lighting be planned in a renovation?
Before the electrician starts laying conduits and before plasterboard ceilings are built. Once the walls are closed, moving a point or adding a dimming circuit means opening up, repairing and repainting.
How many spotlights does a living room need?
There is no single right number. With a ceiling about 2.60 m high, a spacing of 1.2 to 1.8 m between wide-beam spotlights is usual, but a living room is better lit when the spotlights complement a floor lamp, wall lights and a central fixture rather than replace them.
Which colour temperature suits a home?
In most homes 2700K to 3000K in the living and sleeping areas, and 3000K to 3500K in the kitchen and the work area. The main thing is to choose one colour temperature and keep to it in all the fixtures that are seen together.
Is it worth installing dimming in every room?
In the living room, the dining area and the bedroom, dimming changes the experience and is worth planning in advance. In the corridor, wardrobes and utility rooms it matters less. Make sure the fixtures and drivers support the chosen type of dimming.
What is the difference between lighting design and choosing light fixtures?
The design determines where light is needed, how much, in what colour temperature and how it is controlled. Choosing the fixtures comes after it and determines how all of this will look. Anyone who chooses fixtures before designing sometimes discovers that they do not give the light the space needs.